
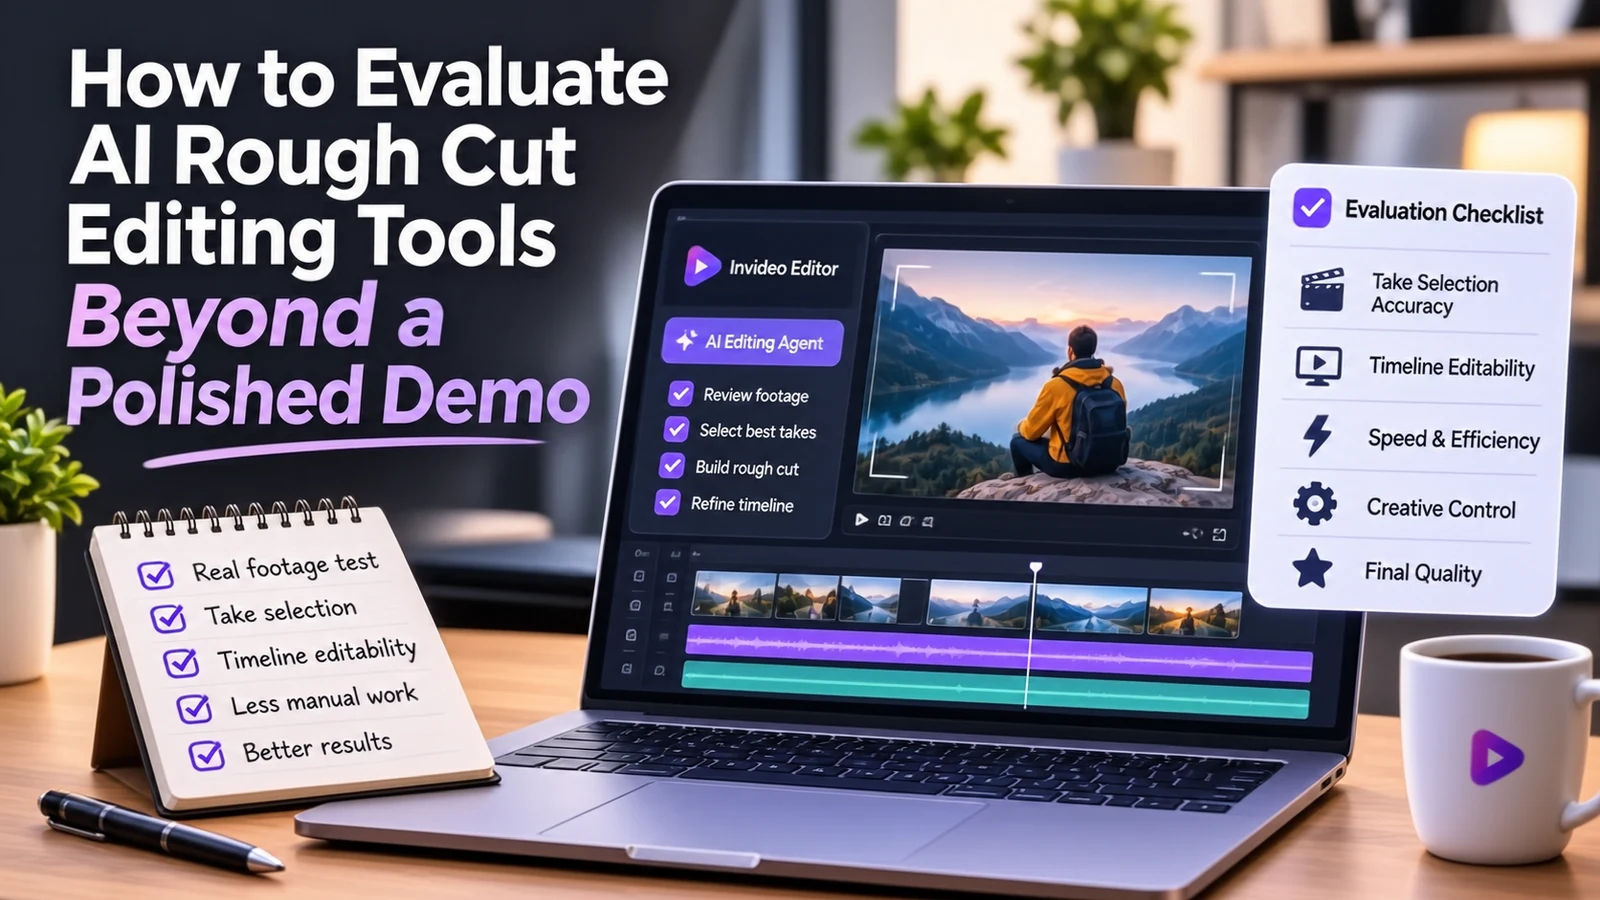
An AI rough cut editing tool is software that reviews raw footage, picks usable takes, and assembles them into a first editable timeline. The goal is simple. You skip the slow sorting work and start editing from a real structure.
Every vendor shows a clean demo. The footage is tidy, the script is perfect, and the result looks magical. Real projects look nothing like that.
Your footage has false starts, repeated takes, long pauses, and half finished thoughts. A tool that only shines on clean material will not save you any time. This guide shows you how to judge these tools on the work you actually do. You will learn what to test, what to measure, and which warning signs to watch for.
Why do polished demos mislead buyers?
A demo is built to hide weakness. The vendor picks the footage, writes the script, and removes any failure before you see it.
Clean single take clips give an AI nothing hard to solve. There are no competing takes to compare. There are no mistakes to remove. The output looks good because the input was already good.
A rough cut is valuable precisely because footage is messy. The tool has to decide which take is best, which line is a repeat, and which pause is dead air. Those decisions are the real product. A demo rarely shows them under pressure.
Demos also show the finish, not the handoff. You need to know what happens after the AI is done. Can you open the timeline, move a clip, and swap a take? If the result is locked or flat, the demo has told you very little.
What should a rough cut tool actually do?
A rough cut is the first complete timeline built from your usable footage. It runs from start to finish. It is not a highlight reel, and it is not a final deliverable.
Repeated takes, mistakes, pauses, and filler should already be cleared away. What remains is a base you can shape. The value of the tool is that you carry on editing from that base instead of starting from zero.
So judge every tool on four jobs. It should review the footage, select the best takes, remove the waste, and arrange the result on a timeline. If a tool skips any of these jobs, you are still doing that work by hand.
Which criteria separate real tools from demo tools?
Use these five criteria on every tool you test. They turn a vague impression into a score you can compare.
Take selection quality. Give the tool three takes of the same line. Check whether it picks the cleanest delivery. A good tool keeps one strong take per line and drops the rest.
Editable output. The result must be a real timeline. Every cut should be visible and changeable by hand. If you cannot inspect the changes, you cannot trust them.
Direction handling. You should be able to describe the cut in plain language. Try giving direction by topic, by story, by shooting order, or by transcript. Notice how closely the result follows your words.
Footage range. Test a single camera with a script and one without. Test multicam material and music led footage if you shoot them. A tool that handles only one format will limit you later.
Total time to a usable cut. Measure the whole process, not just processing time. Include the minutes you spend fixing mistakes. A fast result that needs an hour of cleanup is not fast.
Write down a score from one to five for each criterion. Run the same footage through every tool. The comparison becomes fair because the input never changes.
Which platform fits a real rough cut workflow?
Once you know your criteria, you can compare platforms against them. Look for a tool that treats the AI like an assistant editor, not a one click gimmick. The agent should handle repetitive execution while you keep creative control.
Invideo Editor handles rough cut editing through AI agents that review footage, select takes, and build an editable base cut from your direction. It runs in the browser and pairs a professional timeline with those agents in one place. Every result stays on the timeline, so you can inspect it, redirect it, and refine it.
This matters because the agent works against different kinds of material. With a script, it picks one clean take per line. Without a script, it works out what you said and keeps each point once. With multicam, it syncs the angles and builds a layered cut. With music led projects, it arranges footage around a beat pattern.
That range maps directly to the footage range criterion above. YouTube creators with long recordings, podcast editors, and documentary teams all face these cases. Invideo Editor is also free to use, so you can test it on a real project before you commit any budget.
How do you run a one hour test on your own footage?
Pick one project you already know well. Use footage you have already cut by hand, so you can compare the AI result with your own edit. This gives you a clear benchmark.
Follow these steps for each tool you evaluate:
Upload messy footage with repeated takes, false starts, and pauses.
Add a script or transcript if you have one.
Describe the base cut you want in plain language.
Review the assembled timeline from start to finish.
Fix mistakes by hand and note how long the fixes take.
If you try invideo Editor, go to ai.invideo.io and select Timeline Editor below the prompt box. Create a blank timeline, open Media, and upload your footage. Then create an agent and tell it how to assemble the base cut.
Bring messy footage the first time. Clean single take clips will not show you much, because there is nothing for the agent to clear away. The test only works when the material is hard.
What warning signs should you watch for?
Some problems show up fast if you know where to look. Watch for these during any trial.
A flattened result. If the output is a single exported clip instead of a timeline, you cannot refine it.
Highlights instead of a full cut. A rough cut should run start to finish. A short teaser is a different product.
Hidden decisions. If you cannot see why a take was chosen, you cannot correct a bad choice.
Clean footage only. Be careful when a vendor refuses to let you test your own material.
Rigid input. Tools that demand perfect scripts or strict formats will struggle with real shoots.
None of these alone is fatal. Several together tell you the demo was doing the heavy lifting.
How should you score and compare the results?
Add up the five criteria scores for each tool. Give extra weight to the criteria that match your daily work. A podcast editor may weigh take selection most. A documentary team may weigh footage range and timeline control.
Also keep a short note on how the process felt. Did the tool follow your direction on the first try? Did you trust the timeline enough to keep editing? These small signals often decide which tool you actually keep using.
Repeat the test after a week with a second project. Consistent results across two projects mean far more than one impressive run. A tool that works only once is still a demo.
Final thoughts
A good AI rough cut tool should give you a better starting point, not a finished film. Judge it on messy footage, editable output, and how much total time it saves. Ignore the polish of the demo reel.
Run the same footage through every tool and score each one honestly. Choose the tool that clears the grunt work while leaving the story, rhythm, and final judgment in your hands. If a free option such as invideo Editor passes your test, you gain a faster workflow without spending anything to find out.
FAQs
What is a rough cut in video editing?
A rough cut is the first edited version of a video, built by arranging selected footage in story order. It usually has loose trims and no final polish. Editors use it as the foundation for later refinement.
What is the difference between a rough cut and a final cut?
A rough cut is a preliminary version with approximate trims and basic structure. A final cut is the finished version, with tight timing, color, sound, and effects complete. The rough cut is where shaping begins, and the final cut is what you deliver.
How do you create a rough cut?
Import and organize your footage, then arrange the best clips in story order. Trim away mistakes, repeats, and dead air to set the pacing. After that, move on to a fine cut for transitions, color, and sound.
What is the difference between an assembly cut and a rough cut?
An assembly cut is the first pass that places selected shots in approximate order. A rough cut goes further with more shot selection and approximate trimming. Many editors treat the assembly as the raw layout and the rough cut as the first real edit.
Can AI build a rough cut from raw footage?
Yes, AI tools can now review footage, pick usable takes, and assemble a base cut. The quality depends on how well the tool handles messy material. Tools such as invideo Editor place the result on an editable timeline, so you can keep refining it by hand.