
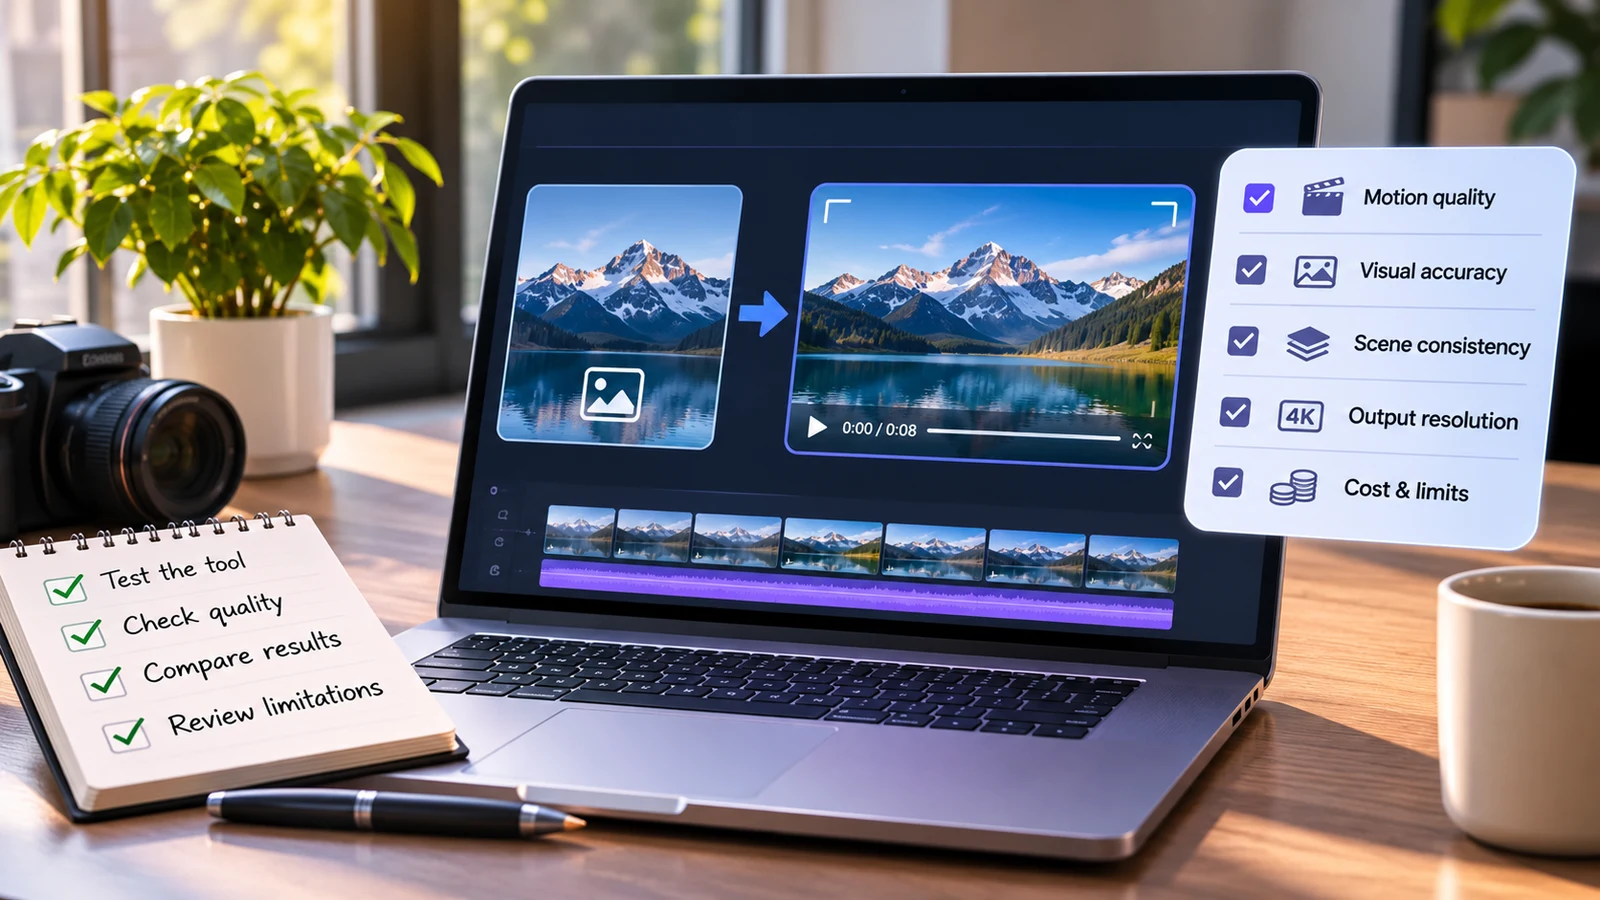
An AI image-to-video tool takes a still image and turns it into a moving clip. You supply the picture and a short instruction. The tool predicts motion, camera movement, and sometimes sound. Demos make this look effortless, but real projects rarely behave like a demo.
Every vendor shows its best clip. The lighting is perfect, the subject is simple, and the motion looks smooth. That clip tells you what the tool can do on its best day, not on your typical day.
This guide helps you test tools the way you will actually use them. It covers what demos hide, which criteria matter, how to run a fair test, and how to judge the whole workflow instead of a single clip.
Why do polished demos mislead buyers?
A demo is a marketing asset. It is built to impress, so it shows the strongest result from many attempts.
Demo prompts are usually easy. A single subject, a clean background, and slow motion are the safest choices. Complex scenes, fast movement, and detailed products tend to expose weaknesses.
Demos also hide failure rates. You see one good clip, not the ten attempts behind it. If a tool needs many tries to produce one usable result, your real cost is much higher than the price list suggests.
Another gap is workflow. A demo ends at the clip. Real work continues after that. You need to trim, combine, add audio, fix issues, and export for a channel.
Finally, demos rarely show your content. Your product images, brand colors, and faces behave differently from sample images. Only your own tests reveal how a tool handles them.
What criteria matter when you evaluate image-to-video tools?
Use a short list of criteria so you can compare tools fairly. Score each one from one to five.
Motion quality. Check whether movement looks natural. Watch for stiff limbs, warping faces, and objects that melt or drift.
Fidelity to the source image. The video should keep the look of your original picture. Colors, text, and logos should stay stable from the first frame to the last.
Prompt control. Test how well the tool follows direction. Ask for a slow push in, a pan, or a specific action. Note whether it listens.
Consistency across clips. One good clip is not enough. Generate several clips of the same subject. See whether the look stays consistent.
Clip length and resolution. Confirm the maximum duration and output quality. Short clips may require stitching, and low resolution may not suit your channels.
Speed. Measure how long each generation takes. Slow turnaround limits how many ideas you can test.
Cost per usable clip. Divide total spend by the number of clips you would actually publish. This number is more honest than the price per generation.
Editing and export options. Look at what happens after generation. A tool that traps you in a closed viewer adds friction.
How do you run a fair test of an image-to-video tool?
A fair test uses the same inputs across every tool. Follow a simple process.
Choose five to ten source images. Include a mix, such as a product photo, a portrait, a landscape, a busy scene, and an image with text.
Write matching prompts. Use the same instructions for each tool. Include both simple and demanding requests.
Generate several versions of each clip. One attempt is not enough. Run at least three per image.
Record every result. Note how many outputs were usable, and what went wrong with the rest.
Review at full size. Small previews hide artifacts. Watch each clip on a large screen.
Score each tool. Apply your criteria and compare totals.
Test the finished workflow. Take one clip into a full video and see how smooth the process feels.
Include at least one hard case. Pick an image with hands, text, or a crowded background. These often expose the largest differences between tools.
Keep notes honest. Do not skip failed generations, because they reveal the real cost of using the tool.
Which platform should you use to turn images into video?
Your choice depends on what you plan to make. Some tools focus only on generation. Others cover the full path from image to finished video.
For generation, an image to video AI tool lets you upload a still and receive an animated clip. This is the fastest way to bring photos, product shots, and illustrations to life.
Generation is only the first step, though. Most projects need several clips joined together, along with sound, pacing, and cleanup. That is where an editor matters.
Invideo Editor is one option for that stage. It is a professional, browser-based editor with AI editing agents you can assign real work to. It is free to use, so you can test it alongside your generation tests.
Invideo Editor can assemble generated media and existing footage against a structure you supply. That means your image-to-video clips can sit on one timeline with real footage, voiceover, and music. You can inspect every change and refine by hand.
When you compare platforms, ask one extra question. Does the tool fit the rest of your workflow? A strong generator that creates extra manual work may cost you more time than it saves.
How do you judge motion quality and visual consistency?
These two areas cause the most disappointment, so look closely.
For motion, watch the clip several times. First, watch the main subject. Then watch the edges and background. Artifacts often hide there.
Check physics. Hair, fabric, water, and hands should move in believable ways. If they bend, flicker, or merge, the clip may not be usable.
Test camera moves. Ask for a slow zoom, a pan, or a tilt. See whether the scene holds together as the camera moves.
For consistency, generate multiple clips from the same character or product. Compare them side by side. The face, color palette, and proportions should stay stable.
Check text and logos closely. These are common failure points. If your brand marks distort, you will spend time fixing them or avoiding the tool altogether.
Remember that usable does not mean perfect. Decide in advance what level of imperfection you can accept. Social clips may tolerate more than a product launch video.
How do you evaluate cost, workflow, and team fit?
A good tool saves time across the whole process, not only during generation.
Start with cost per usable clip. Add up credits or subscription fees, then divide by the number of clips that pass your quality bar. Compare tools using this figure.
Then look at the workflow. Count the steps from image to published video. Each handoff adds time. Fewer handoffs usually mean faster delivery.
Check collaboration. If teammates review your work, a shared project is useful. Passing files back and forth slows everything down.
Consider editing depth. Generated clips often need trimming, pacing changes, color matching, and audio cleanup. Invideo Editor includes color grading and audio post-production, which helps unify mixed material on one timeline.
Finally, think about repeatability. Can you reuse prompts and settings? A process you can repeat is more valuable than a lucky result.
Conclusion
A polished demo shows potential, not reliability. To choose the right image-to-video tool, test it on your own images, with your own prompts, over several attempts.
Score each tool on motion, fidelity, control, consistency, speed, and cost per usable clip. Then follow the clip into an editor and judge the full workflow.
Do this once, and you will have a clear, evidence-based answer. You will also have a testing method you can reuse as new tools appear.
FAQs
- How do you evaluate an AI image-to-video tool?
Test it with your own images and prompts across several attempts. Score motion quality, fidelity to the source, prompt control, consistency, speed, and cost per usable clip. Then check how well the output fits your editing workflow.
- What makes AI image-to-video results look unnatural?
Common causes include warped faces, stiff motion, flickering backgrounds, and distorted text. Complex scenes and fast movement raise the risk. Simple prompts and clean source images usually produce better results.
- How many test clips should I generate before choosing a tool?
Generate at least three versions per image across five to ten images. This reveals how often the tool produces usable results. A single clip tells you very little.
- Can image-to-video clips be edited after generation?
Yes. You can bring clips into an editor to trim, combine, add audio, and adjust color. Invideo Editor offers a free browser-based timeline with AI editing agents for this stage.
- Why is cost per usable clip better than price per generation?
Not every generation is usable. If many attempts fail, your real cost rises. Dividing total spend by publishable clips gives a more accurate comparison between tools.