
Original document
GPT Image 2 · en
Scene:
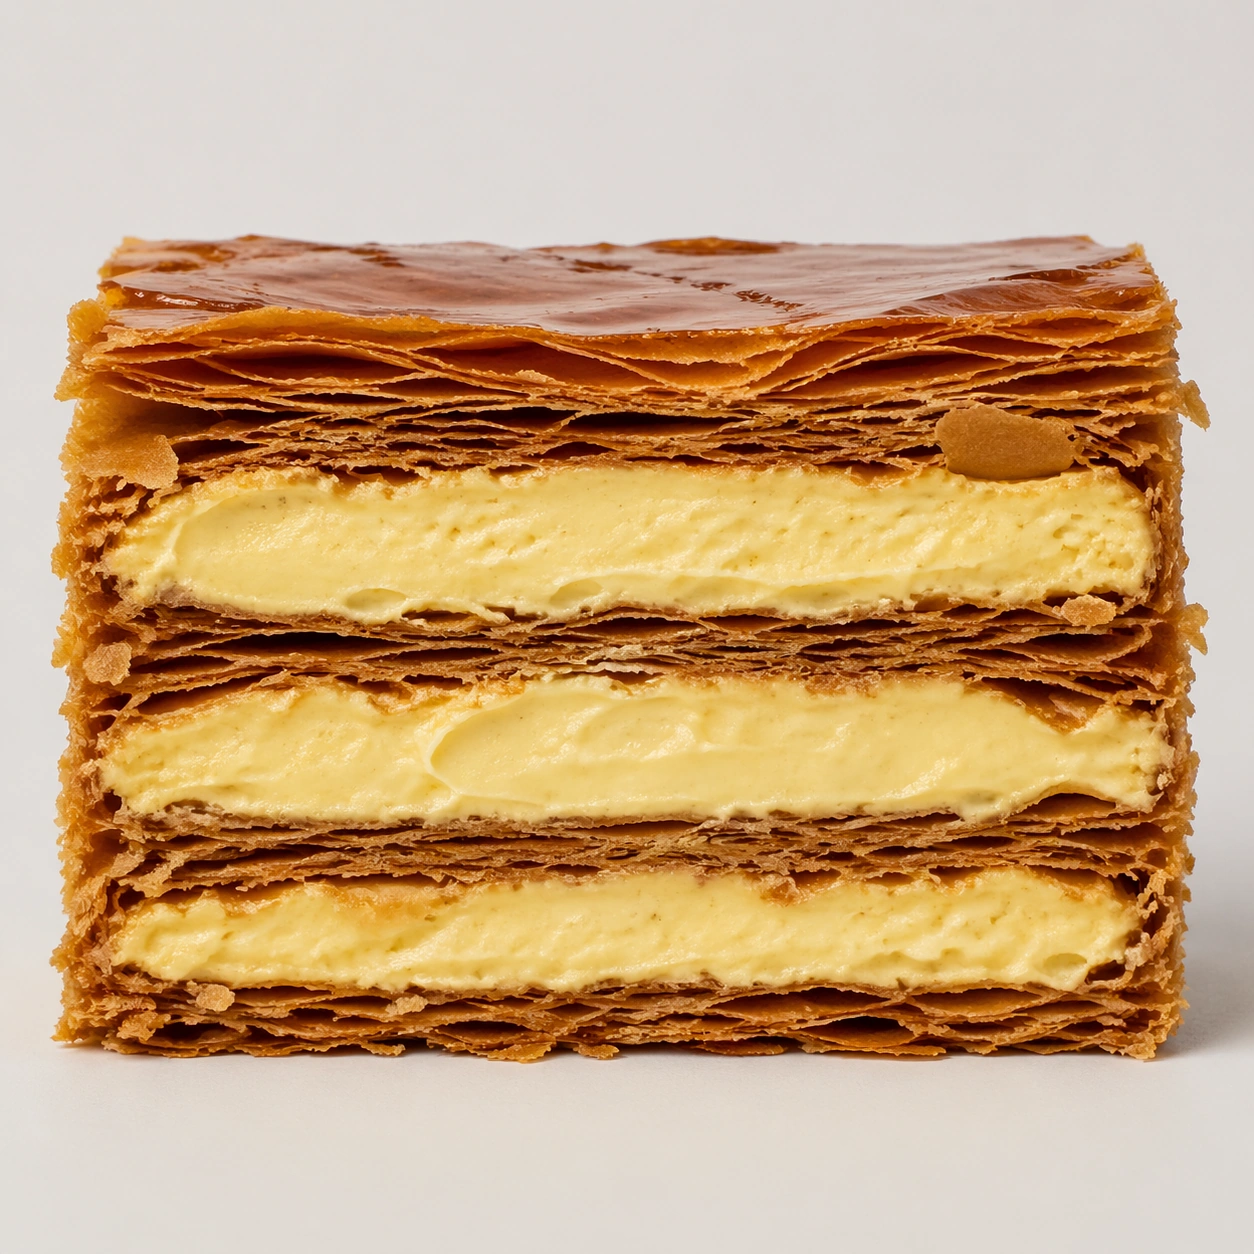
Create a square pastry documentation image on a seamless pale gray or warm ivory studio background with soft catalog lighting and almost no cast-shadow drama. The camera should feel orthographic or gently frontal so cross-sections remain easy to compare. Everything must read like a pastry atlas: clean, measured, and highly legible, with crumbs controlled and edges crisp. Create a square close documentary shot on a pale neutral field with enough side light to reveal the crisp edges of the pastry sheets. The shadows should remain restrained so the cream layers stay bright and readable.

Subject:
Show one mille-feuille slice cut or broken cleanly enough to expose dozens of pastry leaves stacked above and below thick pastry cream. The upper layers may show a few slight fractures and flakes, but the overall geometry should remain disciplined and premium. The specimen should feel delicate, brittle, and precise.

Important details:
Treat every cut face as the hero: laminated layers, cream density, air pockets, fruit cavities, glaze thickness, and crumb structure all need to be countable and believable. The studio language should stay consistent and understated so structural detail does the work. No element should feel collapsed, smeared, or over-stylized. Make the contrast between crisp laminated sheets and smooth compressed cream unmistakable. Flake loss should feel natural but controlled, and no part of the dessert should look soggy or collapsed.

Use case:
Pastry cross-section atlas single study 7/9, studying fracture and compression inside mille-feuille.

Constraints:
No readable text, no watermark, no logos, preserve exact 1:1 aspect ratio, no bakery counter background, no casual napkins, no readable labels, no powdered sugar mess, no rustic knife marks, no cafe sugar dust blizzard, no berries on top, no crushed collapse.
How to use
- Copy the complete original prompt, including any parameters.
- Replace the subject, text and composition with your own requirements.
- Use a compatible external tool; check its current access conditions and review the result.
Before you start
- Check whether a reference image is required. A compatible model label does not mean this example was generated with that model.
- Keep names, figures and visible text accurate; results can vary between model versions.